


How to Turn a Selfie into a Travel Photo Using DataEyesAI's Image Agent (With Prompts & Real Results)
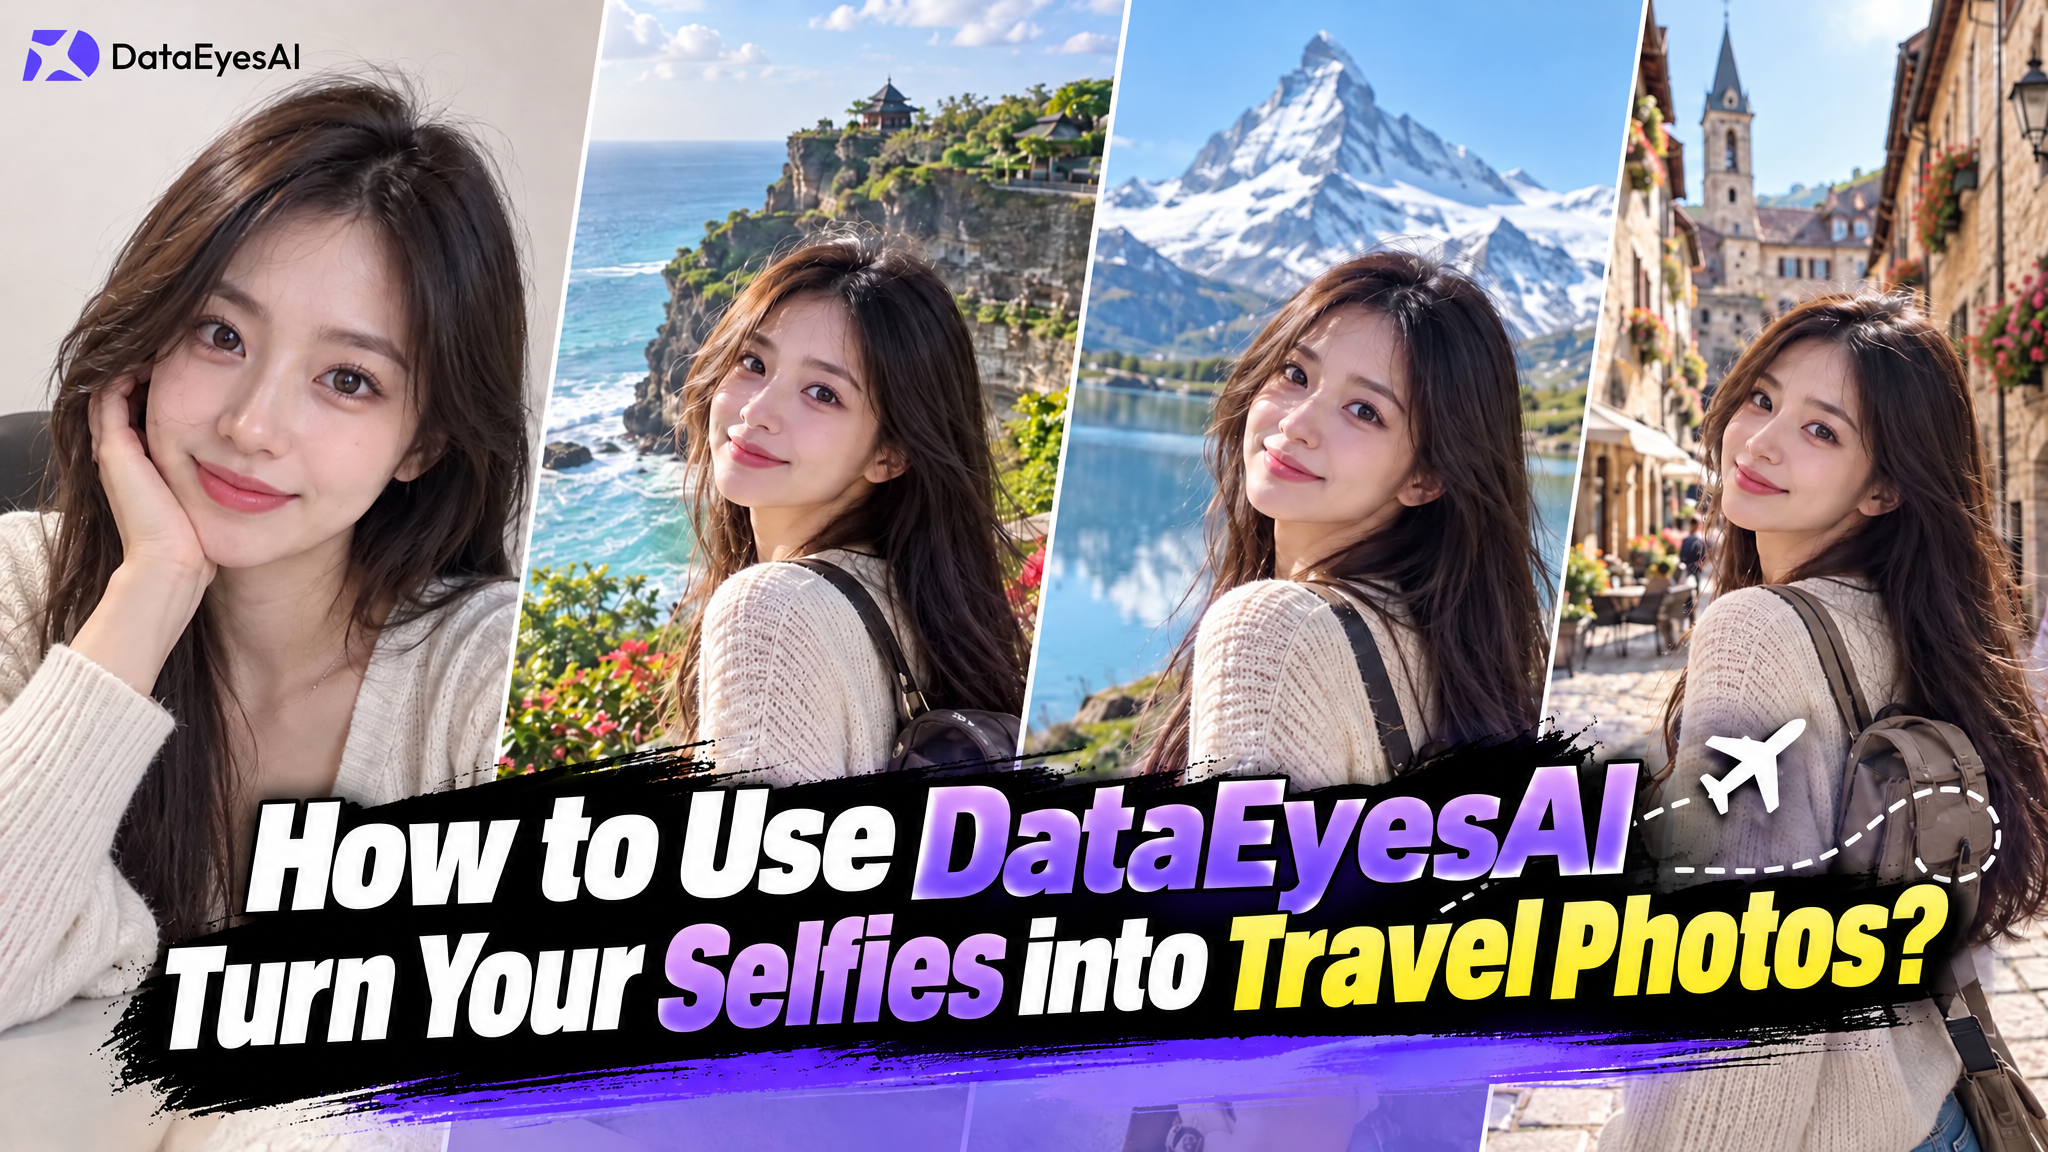
Want to appear on a beach, beside a snowy mountain, or in a European old town without booking a trip first? With AI image generation, you can use one selfie to create travel-style photos in different destinations. This guide explains the complete workflow, from preparing a reference photo to writing prompts and refining the result.
Step One: Prepare a suitable selfie
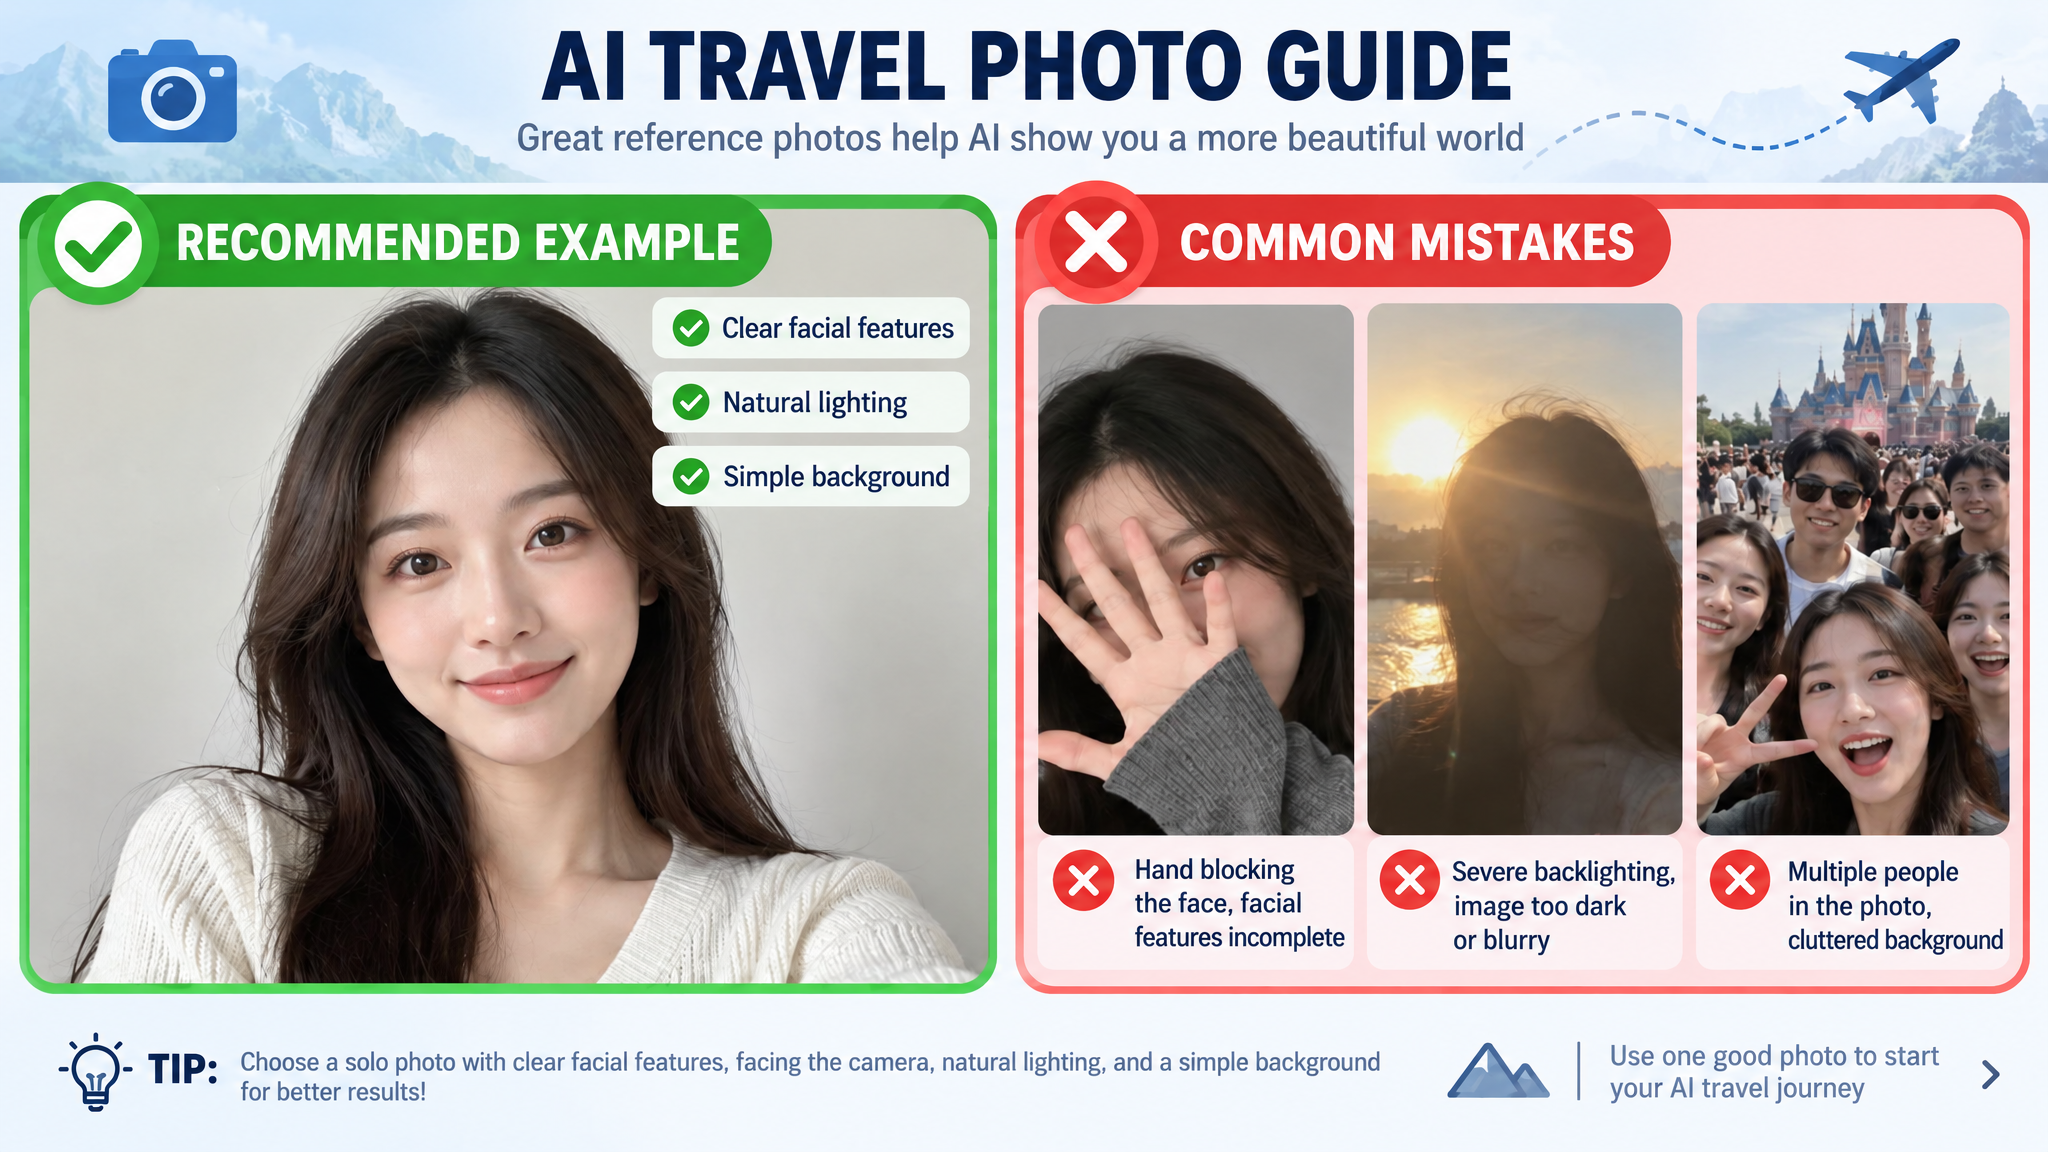
Choose a clear selfie or half-body photo with even lighting, visible facial features, and minimal background clutter. A front-facing or slightly angled pose works best. Avoid heavily blurred images, extreme beauty filters, or group photos because they make it harder to preserve your identity.
Step Two: Tell the model what to preserve
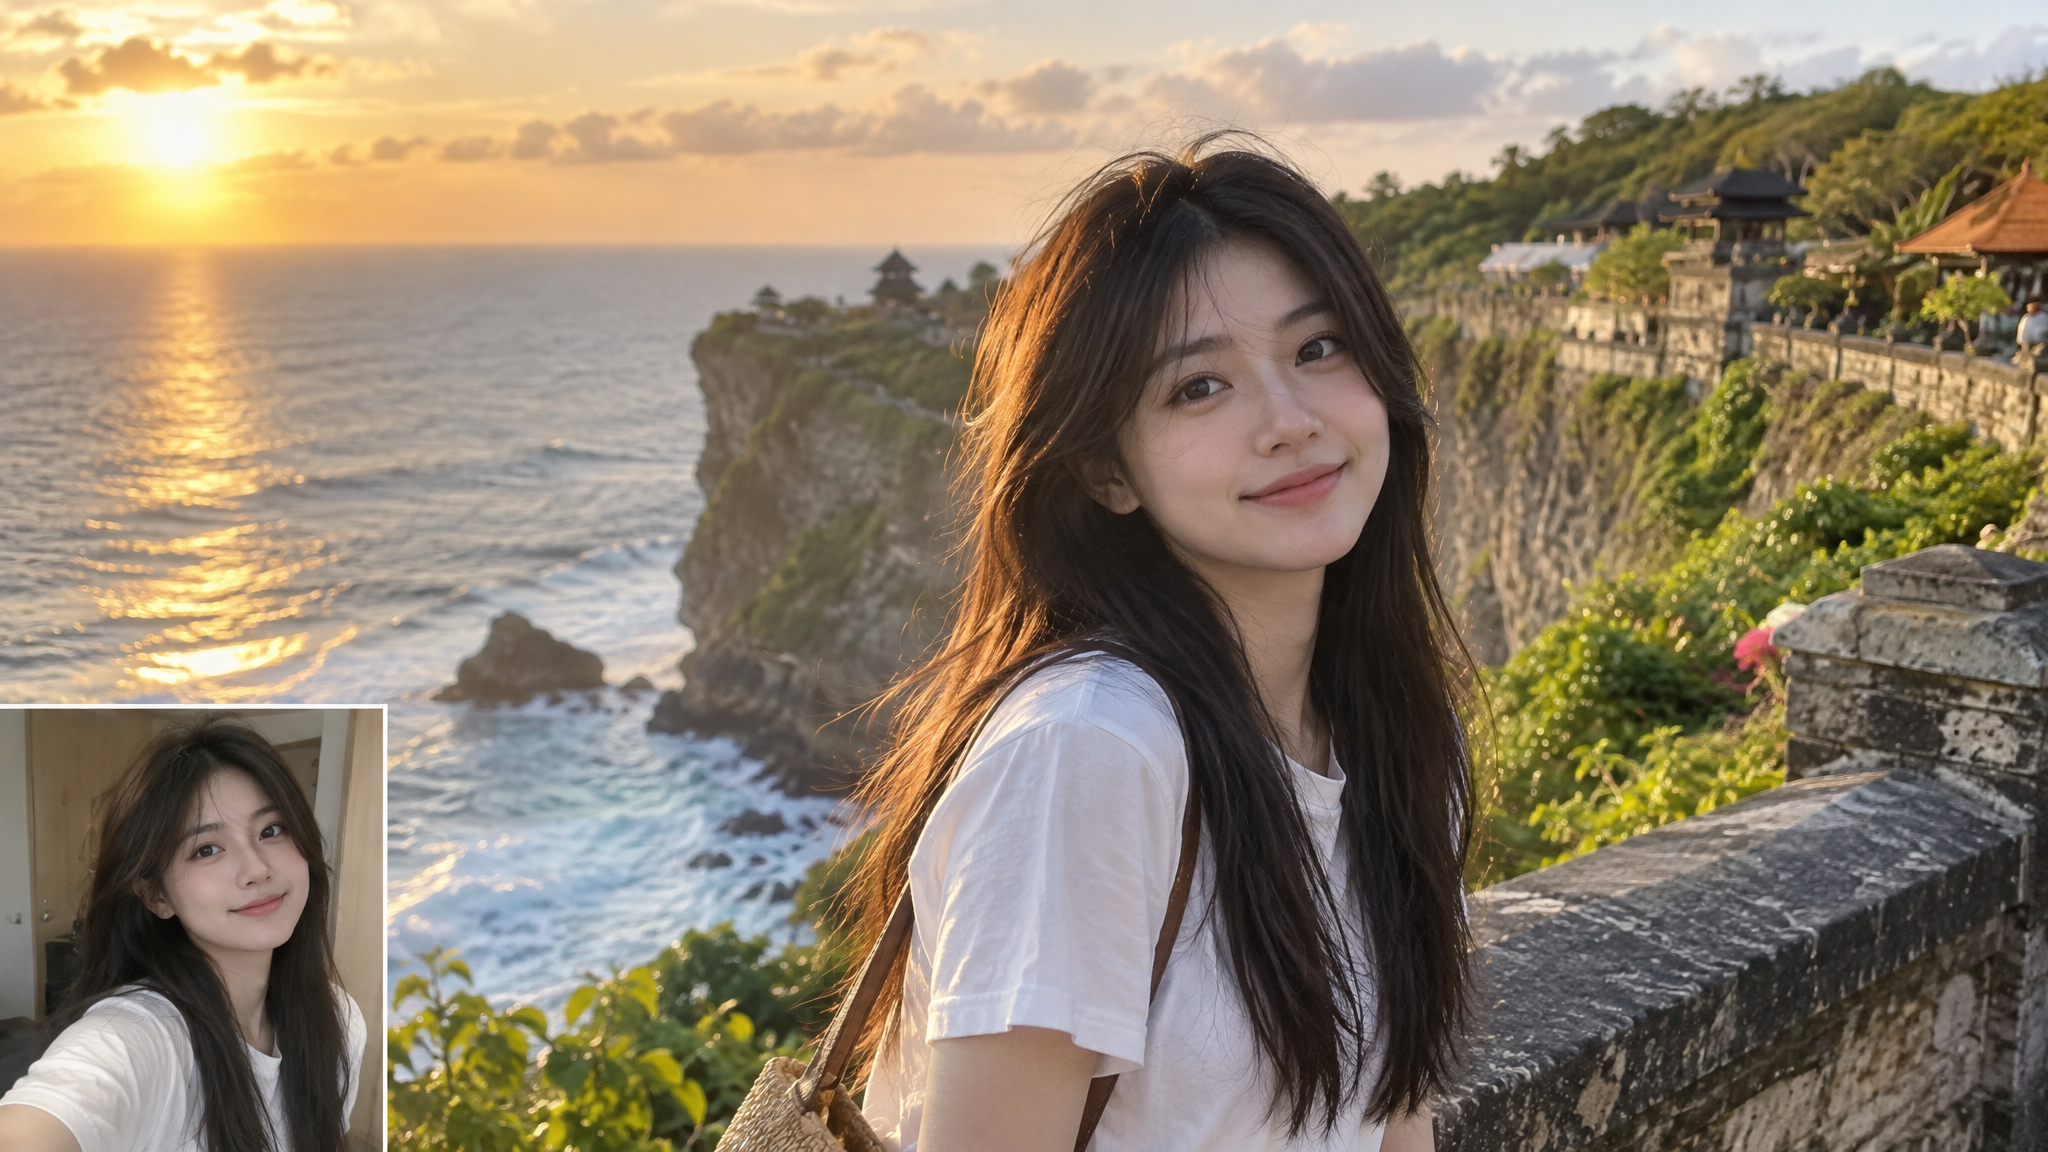
After uploading the selfie, describe the person’s features that must remain unchanged before describing the new environment. This helps reduce unwanted changes to the face, hair, and clothing.
Selfie-to-travel prompt
Preserve the person’s facial features, hairstyle, skin tone, clothing, and identity from the reference photo. Replace the background with a coastal cliff in Bali, golden afternoon sunlight, blue ocean and tropical plants in the distance. Keep the person standing naturally, use realistic travel photography, match the light direction, and add no text or watermark.
Step Three: Replace the scene with a destination
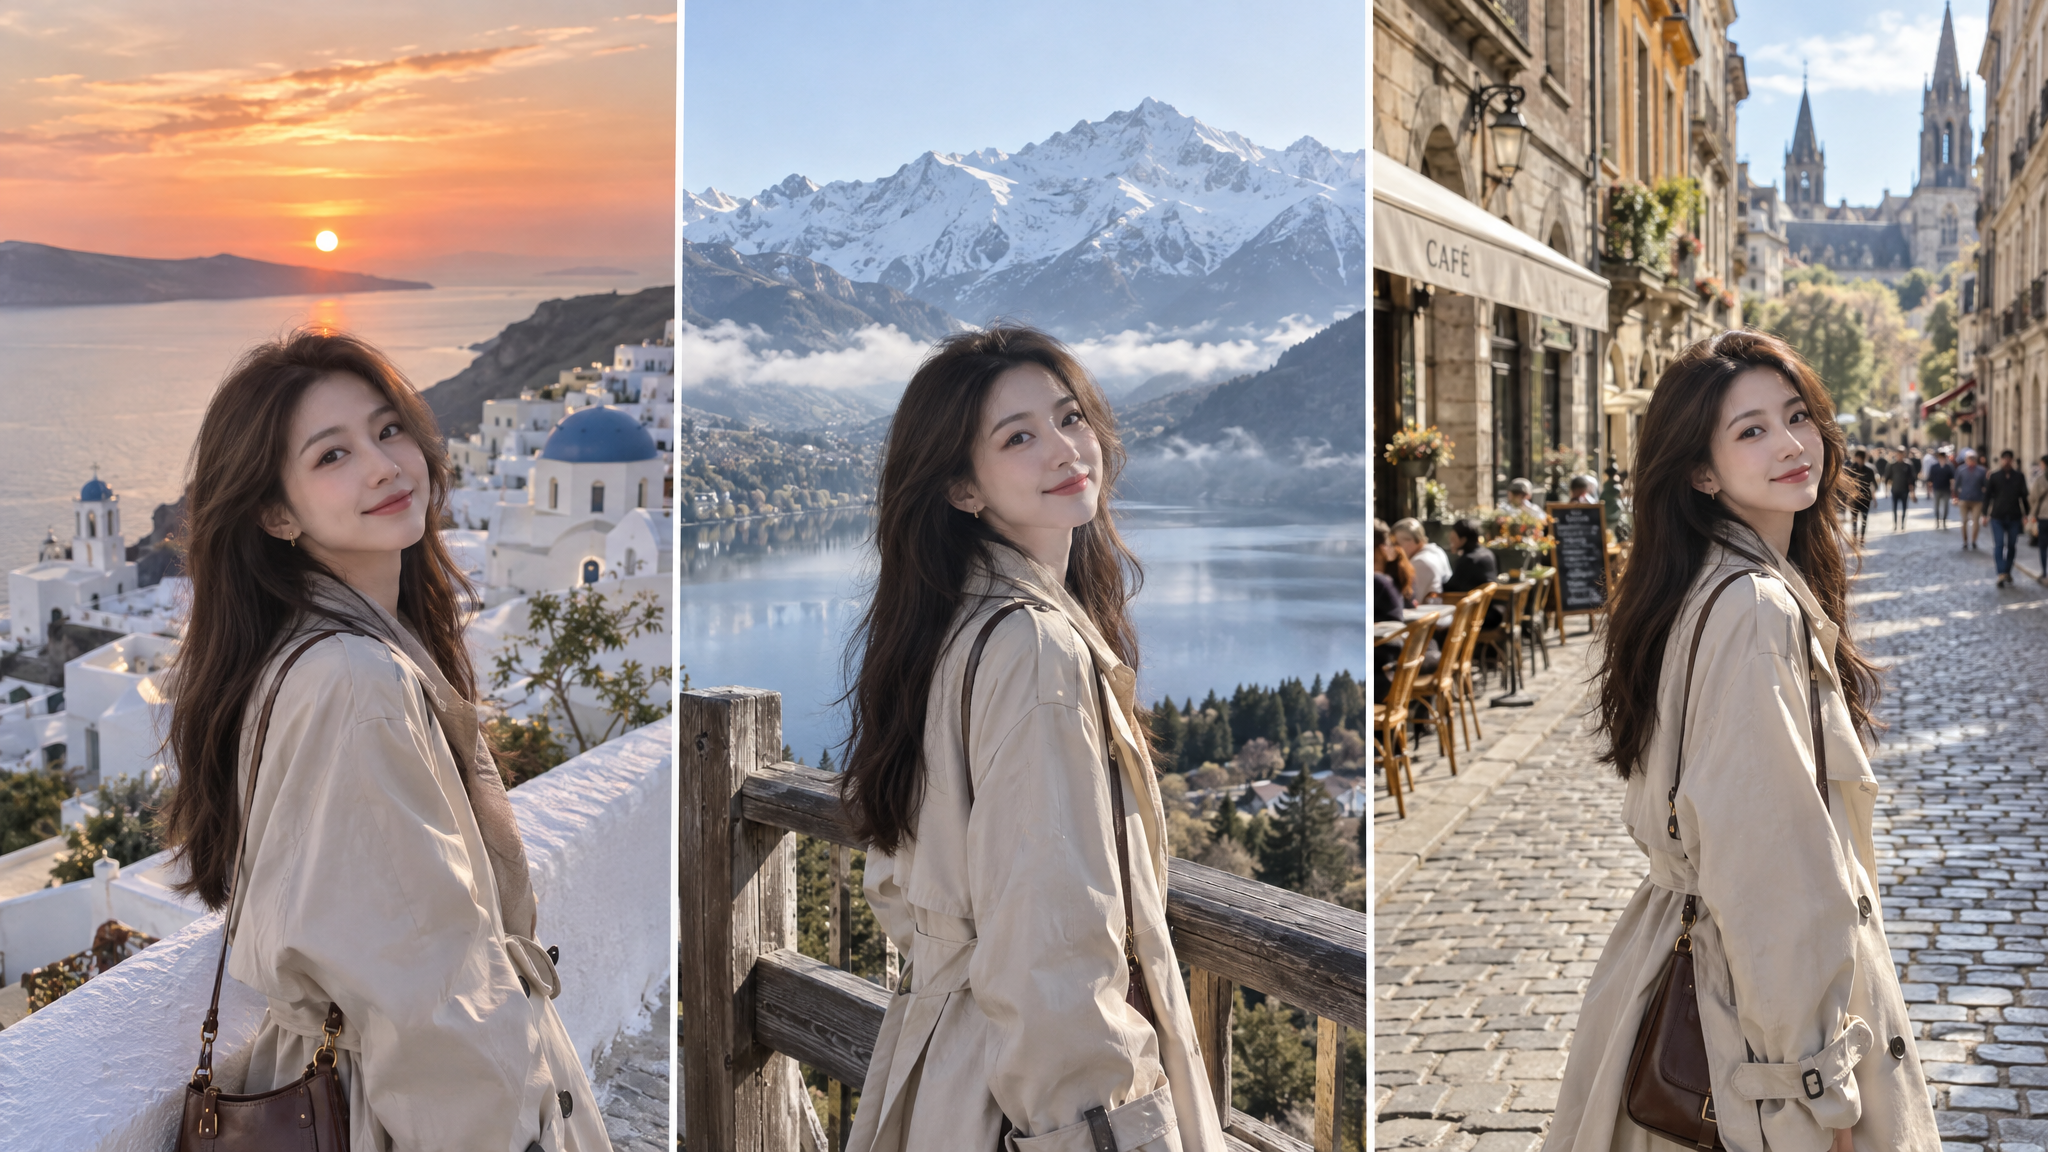
Once the first result looks natural, keep the same identity requirements and change only the destination. This makes it easier to compare results.
Beach travel photo
Preserve the person’s face, hairstyle, clothing, and body proportions. Change the background to a Mediterranean coast at sunset. Place the person beside a white stone wall with soft reflections on the sea. Use realistic photography and keep the person’s identity unchanged.
Mountain travel photo
Preserve the person’s identity and clothing from the reference photo. Place the person beside a Swiss mountain lake in early morning light, with snowy peaks and light mist in the distance. Keep the person on a wooden lookout deck, use realistic travel photography, and avoid extra people.
Old town travel photo
Preserve the person’s face, hairstyle, and clothing. Change the background to a European old town street with warm buildings, stone pavement, and a small cafe. Use soft morning light, a natural walking pose, realistic perspective, and no text or watermark.
Step Four: Fix one problem at a time
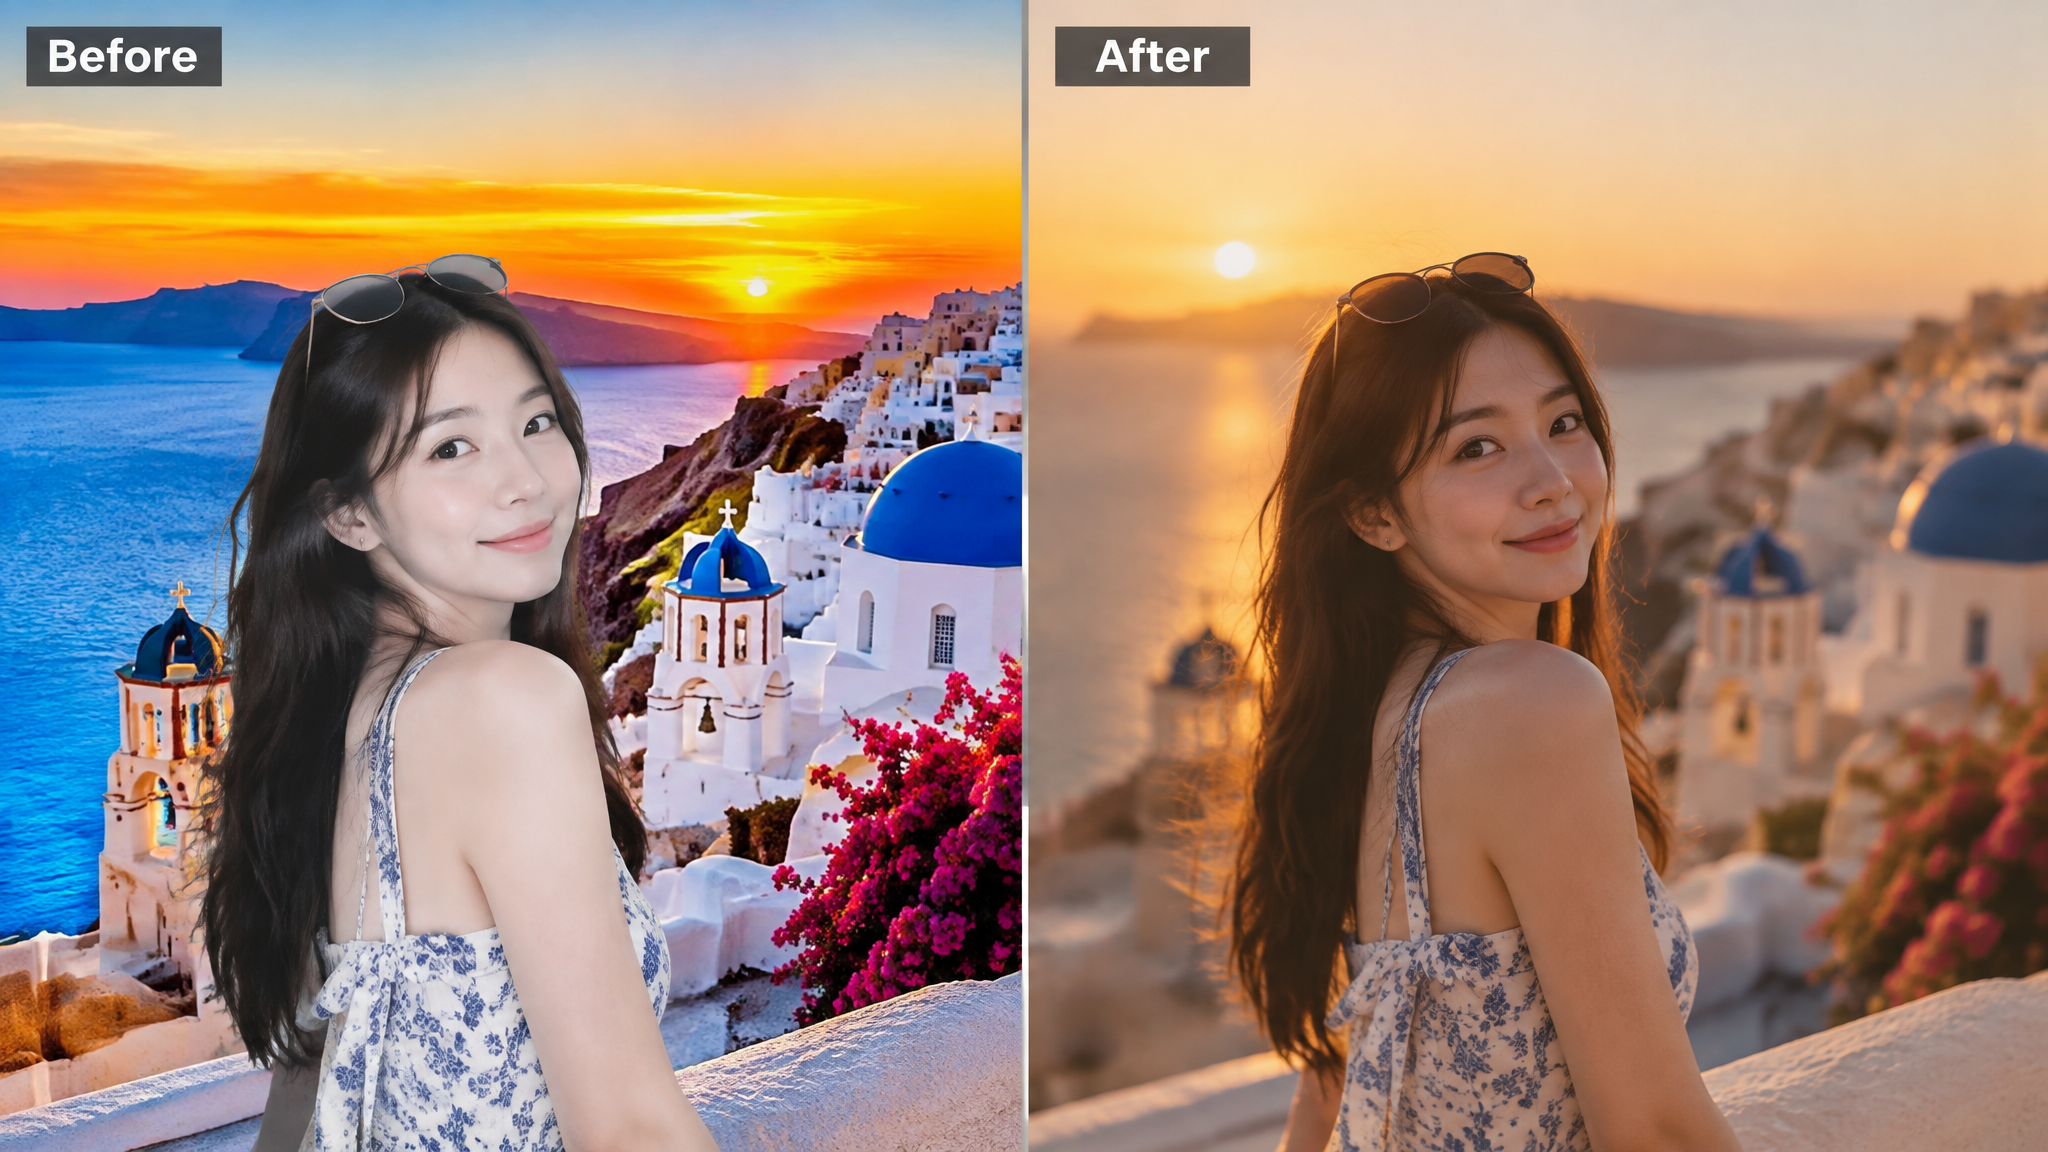
If the person already looks natural but the background feels artificial, edit only the background. If the background works but the lighting does not match, adjust only the lighting. Too many changes in one prompt can alter parts that were already successful.
Background refinement prompt
Keep the person, facial features, clothing, and current composition unchanged. Make the background more realistic, reduce oversaturated colors, and add natural depth of field and environmental light. Do not change the person’s identity.
Lighting integration prompt
Keep the current person and background. Match the light direction, shadows, and color temperature between the person and the environment so the subject blends naturally into the travel scene. Keep a realistic photographic look.
Step Five: Compare the original and generated results
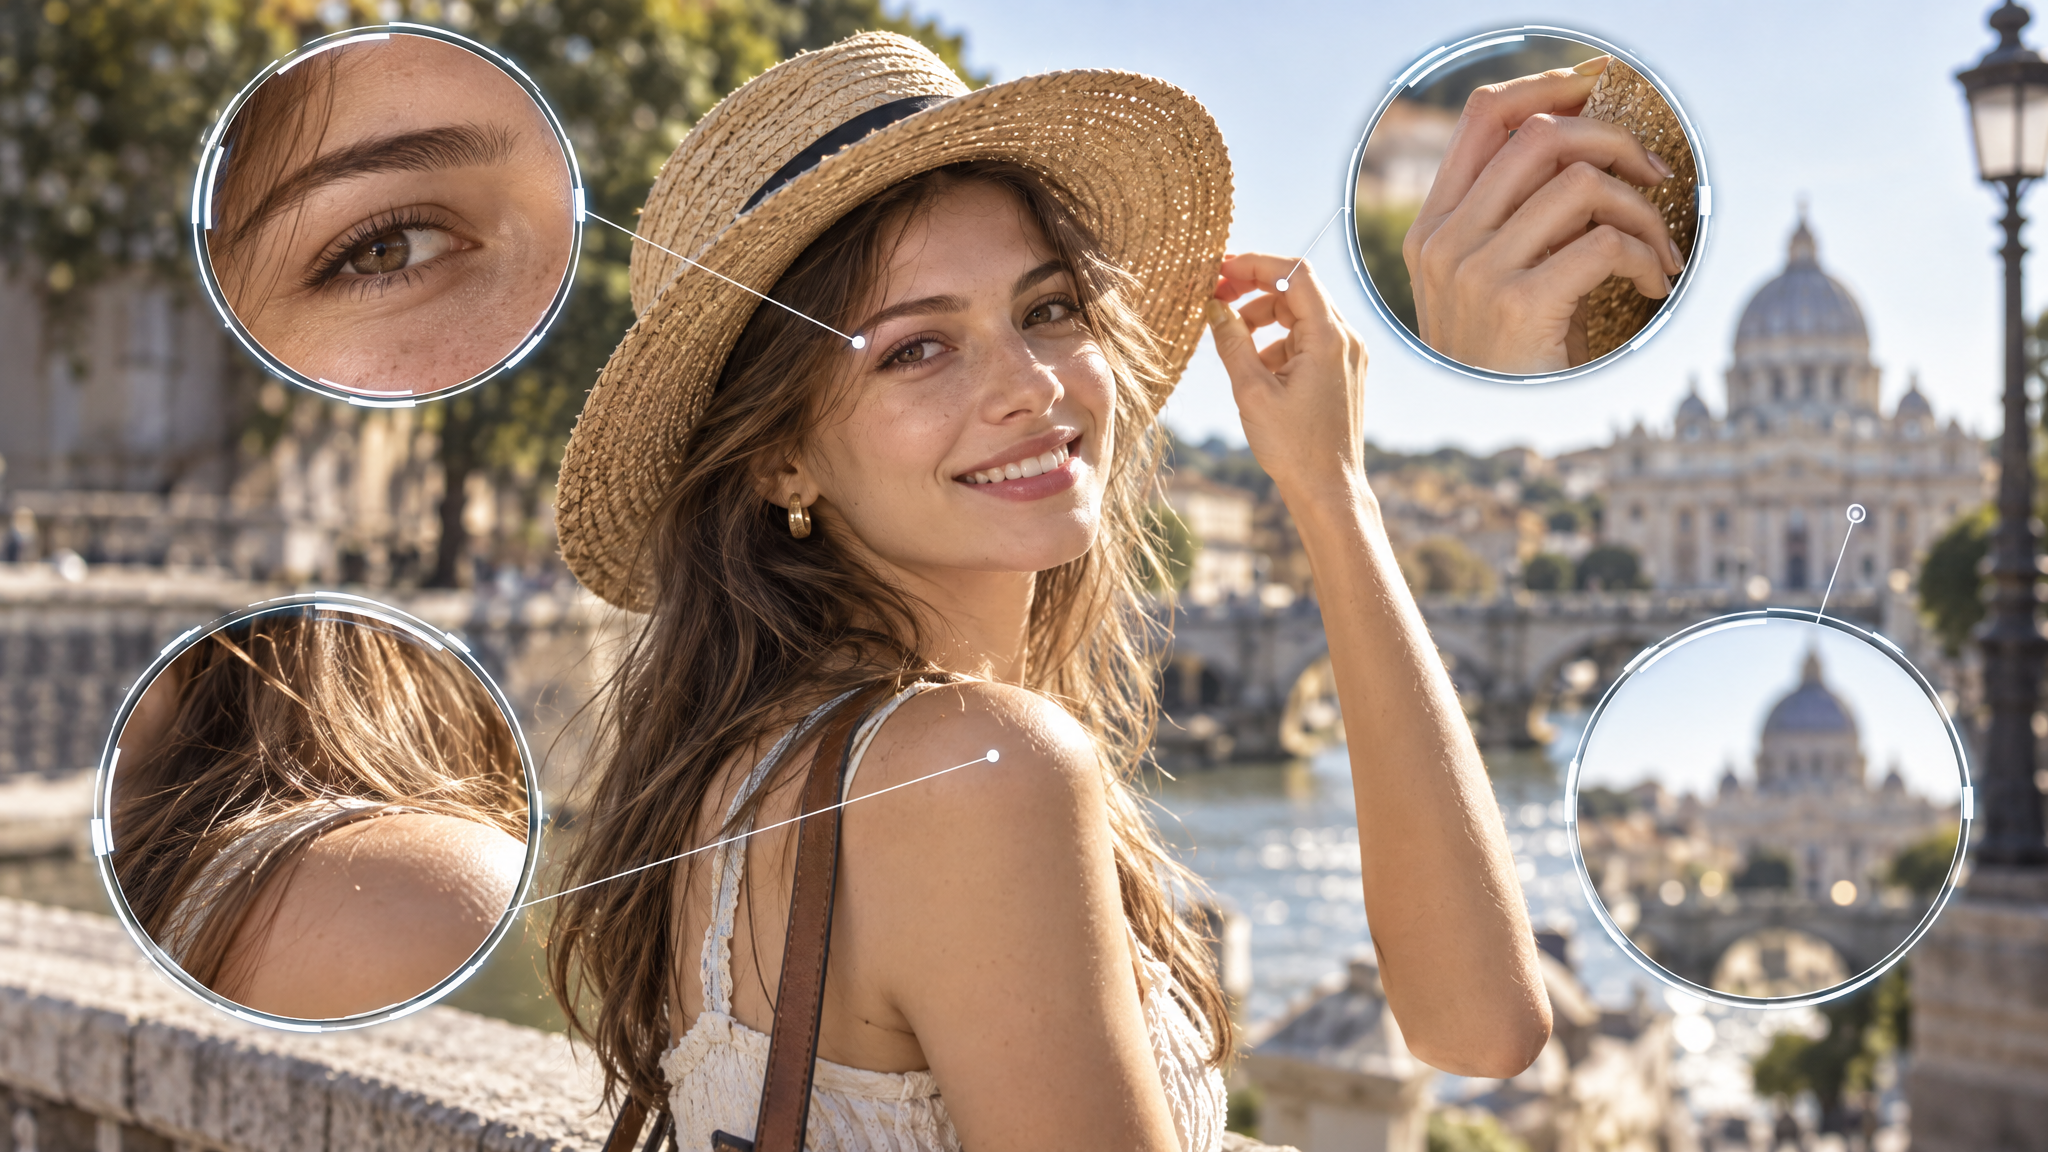
Save the original selfie and each generated version. Compare four things: whether the person still looks like you, whether the hands and facial features look natural, whether the lighting matches the environment, and whether the composition fits the intended use. A version that changes only the background while preserving the person is usually the best starting point for further edits.
How to make the result look more realistic
· Clearly state that the face and identity must be preserved
· Ask for natural lighting, realistic perspective, and believable depth of field
· Avoid requesting too many styles and actions at the same time
· Finish the background replacement before adjusting color and details
· Add important dates and location names later in a layout tool
Is DataEyesAI suitable for this workflow?
If you want to transform a selfie into travel photos, choose a DataEyesAI model that supports reference images or image editing. Follow the model instructions to upload the photo, enter the prompt, and refine the output. Models may differ in identity consistency, realism, and editing performance, so test a few versions with the same selfie before choosing the best fit.
Frequently Asked Questions
What if the result does not look like me?
Reduce stylized descriptions and repeat that the facial features, hairstyle, skin tone, and identity must be preserved. Use a sharp, evenly lit selfie.
Can I use any travel destination?
You can try beaches, mountains, old towns, forests, and city landmarks. The final quality depends on the reference photo and the selected model.
Can I present the generated photo as a real travel record?
AI-generated images are synthetic content. When publishing or sharing them, describe them as AI-generated or creatively composited images.
What if the location name is misspelled?
Generate the travel image without text first, then add the destination, date, and title in a layout tool.
Start with one clear selfie and one destination. By preserving the person, replacing the environment, and refining one issue at a time, anyone can create more natural and personalized AI travel photos.
You might also be interested

How to Make Viral AI Product Videos & Store Vlogs from 1 Photo (2026 Step-by-Step Guide)
Turn 1 product photo into viral e-commerce ads & POV store vlogs with DataEyesAI.

How a Brand Campaign Built Its Visual Pitch with GPT Image 2.5
DataEyesAI GPT Image 2.5 turns skincare ideas into campaign visuals.

How to Summarize 100-Page PDFs & Research Papers with Claude 5.5, Gemini 4 & DeepSeek (DataEyesAI Guide)
5 copyable AI prompts to summarize 100-page PDFs & papers with DataEyesAI.


